Key Takeaways
- OBS Studio is a free, open-source tool designed for video recording and live streaming, compatible with Windows, macOS, and Linux.
- Setting up OBS Studio for Twitch or YouTube streaming includes downloading the software, configuring basic video/audio settings, and linking your account for direct streaming.
- Optimizing settings is essential for smooth streaming, such as adjusting resolution, frame rate, and bitrate based on the platform’s requirements and your internet speed.
- Scenes and sources allow for professional stream layouts, enabling seamless transitions between gameplay, webcam feeds, and overlays.
- Plugins enhance OBS functionality, offering advanced tools like noise suppression, dynamic effects, and external app integration for a more polished stream.
- Testing and troubleshooting are critical for resolving issues like lag, dropped frames, or crashes, ensuring a professional, uninterrupted streaming experience.
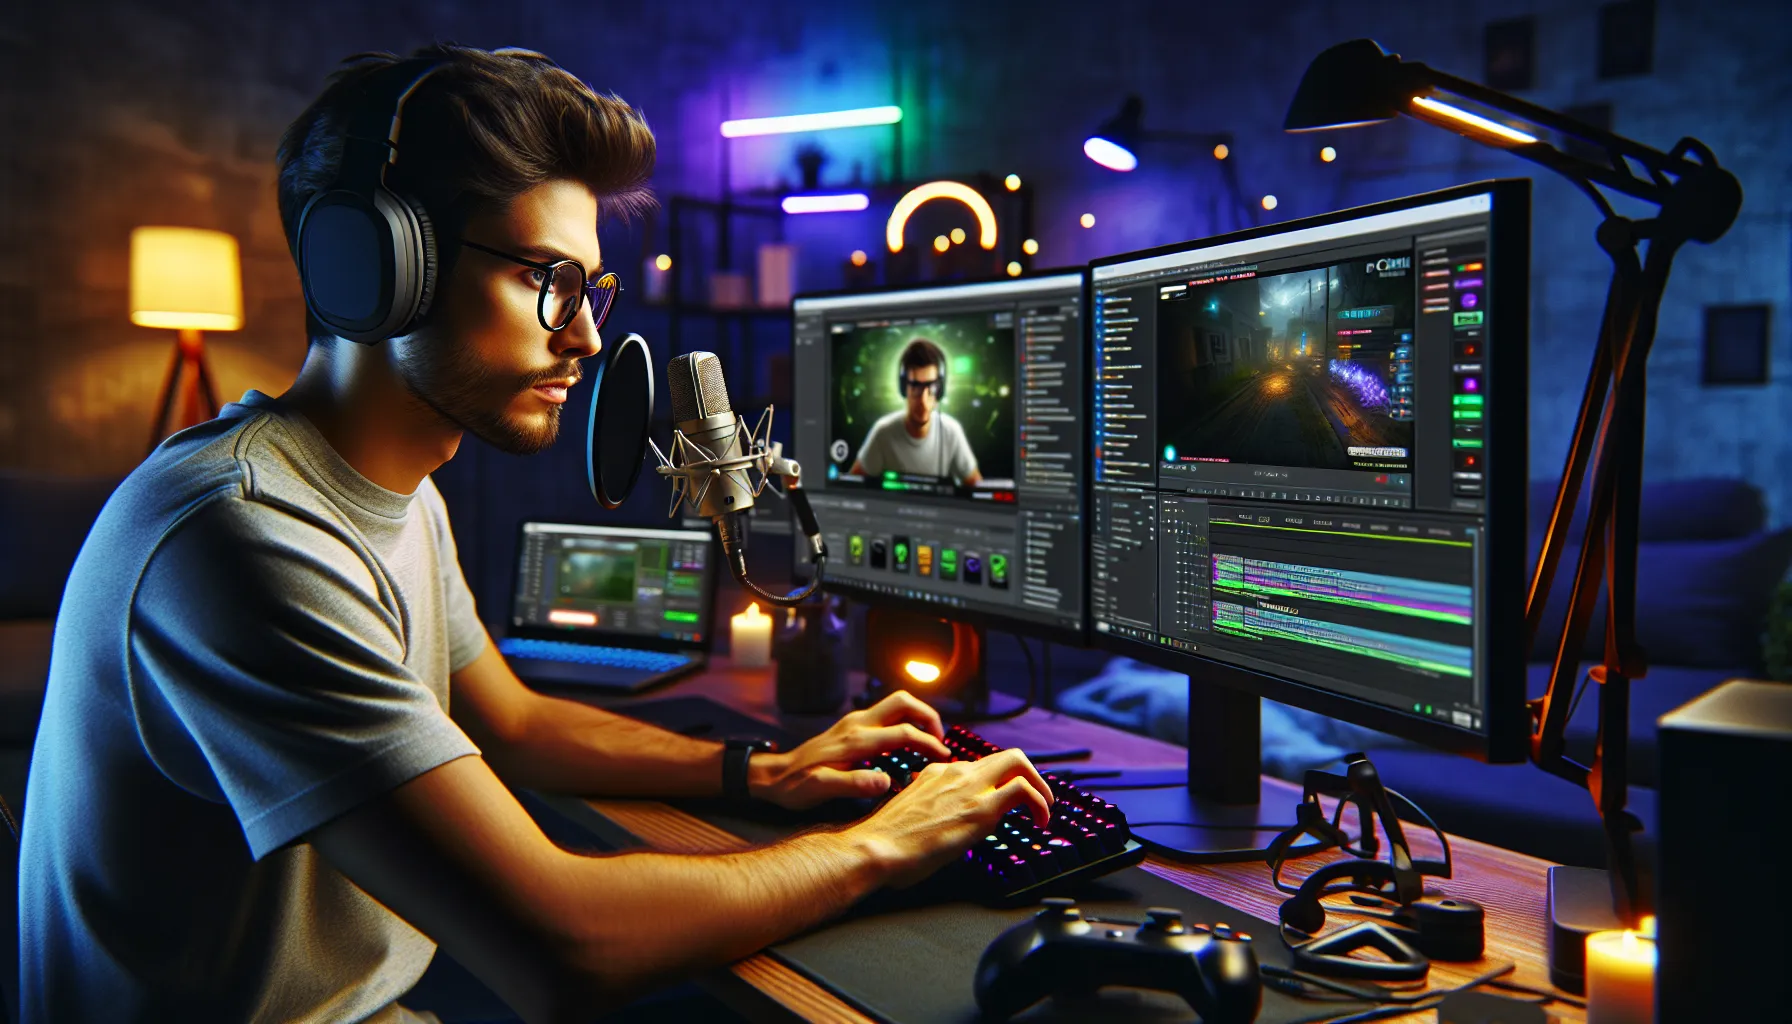
Streaming’s become one of the most exciting ways to share your passions with the world, whether it’s gaming, music, or just chatting with an audience. When I first started, I quickly realized that having the right tools makes all the difference. That’s where OBS Studio comes in—a free, powerful software that’s a favorite among streamers on Twitch and YouTube.
What Is OBS Studio?
OBS Studio, short for Open Broadcaster Software Studio, is an open-source application designed for video recording and live streaming. It’s free to use, with no subscription fees or hidden charges. The software is compatible with Windows, macOS, and Linux systems.
I use OBS Studio to capture high-quality video and audio from my screen, webcam, or connected devices. It supports unlimited scenes, allowing seamless transitions between layouts during a live stream. Its customizable settings let me tweak resolution, frame rate, and bitrate according to my streaming platform’s requirements, like Twitch or YouTube.
The platform includes advanced features like real-time video/audio mixing and noise suppression. It also supports plugins to expand functionality. For example, I can add virtual camera effects or integrate third-party tools for overlays and animations.
Because it’s open-source, a large community continuously improves OBS Studio by developing updates, fixing bugs, and sharing tutorials. This makes it accessible and reliable, even for beginners looking to start their streaming journey.
Setting Up OBS Studio
Getting started with OBS Studio takes just a few steps. Setting it up correctly ensures smooth streaming on Twitch or YouTube.
Downloading And Installing OBS
To download OBS Studio, I visit the official website. The site offers versions for Windows, macOS, and Linux. After selecting the version for my operating system, I click the download button to save the installer.
To install, I open the downloaded file and follow the on-screen instructions. For example, I agree to the terms, choose the installation location, and let the process complete. After installation, I launch OBS Studio to proceed with my setup.
Configuring Basic Settings
After opening OBS Studio for the first time, I navigate to File > Settings. In the General tab, I customize the language and theme based on my preference.
Next, in the Stream tab, I link my Twitch or YouTube account. I choose the platform, log in, and let OBS connect automatically. This step eliminates manual stream key input errors.
In the Video section, I adjust the Base (Canvas) Resolution and Output (Scaled) Resolution. For example, I set the values to 1920×1080 for full HD clarity. I also select the desired frames per second (fps), commonly 30 or 60 fps, depending on my content type and hardware capabilities.
In the Output tab, I configure the bitrate under the Streaming category. For example, I use 4500 Kbps for 1080p 60fps on Twitch, aligning with platform recommendations. I select the NVENC encoder if supported by my GPU for smoother performance.
Lastly, I save changes and check the initial setup by starting a quick test stream or recording using the Start Streaming or Start Recording button.
Optimizing OBS Studio For Streaming

Optimizing OBS Studio ensures a consistent and professional streaming experience on platforms like Twitch and YouTube. Proper configuration enhances video quality, reduces lag, and maintains stable connections throughout your streams.
Adjusting Video And Audio Settings
I focus on configuring the resolution and frame rate to match my internet connection and target platform. For Twitch, I often set the base resolution (canvas) to 1920×1080 and choose an output resolution of 1280×720 to balance quality and performance. Most platforms support a frame rate of 30 FPS or 60 FPS; I use 60 FPS for smoother gameplay streams if my hardware can handle it.
For audio settings, I select a sample rate of 44.1 kHz or 48 kHz, depending on the platform’s requirements. In the “Audio” tab, I assign my microphone and desktop audio devices to their respective channels. Enabling noise suppression and gain filters helps reduce background noise and ensure clear sound quality during live streams.
Managing Bitrate For Smooth Streaming
Bitrate significantly impacts streaming quality and stability. I calculate the appropriate bitrate based on my upload speed—Twitch recommends 4500-6000 Kbps for 1080p at 60 FPS and 2500-4000 Kbps for 720p at 30 FPS. YouTube supports higher bitrates, so I might go up to 9000 Kbps for 1080p streams.
In the “Output” settings, I set the encoder to “x264” for software encoding or choose “NVENC” for hardware encoding if I’m using an NVIDIA GPU. Adjusting the keyframe interval to 2 ensures compatibility with most platforms. Testing my internet connection with speed tests helps prevent bitrate-related buffering during streams.
Setting Up Scenes And Sources
I create separate scenes for various stream layouts, such as starting soon, gameplay, and break screens. In each scene, I add sources like webcam feeds, game capture, and text overlays. To add a game source, I select “Game Capture” and configure it to capture a specific window or full-screen application.
Using “Window Capture” helps integrate applications such as browsers or chat widgets into the stream layout. For a professional look, I align and resize sources within the preview window, ensuring nothing overlaps or looks out of place. To make transitions seamless, I set up effects like fades or cuts between scenes in the “Scene Transitions” tab.
Streaming On Twitch With OBS Studio
Streaming on Twitch with OBS Studio combines flexibility and performance to engage your audience. Here’s how to prepare for a successful broadcast.
Linking Your Twitch Account
I start by connecting my Twitch account in OBS Studio to enable direct streaming. In OBS, I navigate to File > Settings > Stream and select “Twitch” from the service dropdown menu. I have two options for authentication: I either log in directly or enter a Stream Key, which I retrieve from the Twitch dashboard under Settings > Stream.
After linking, OBS automatically configures recommended settings based on Twitch’s requirements. If I want manual control, I can adjust these settings later for customization.
Customizing Twitch Stream Settings
To ensure smooth performance, I tweak additional stream settings in OBS. Under the Output tab in Settings, I set my video bitrate based on my internet speed. Twitch suggests a bitrate between 2500-6000 Kbps for 720p or 1080p streams at 60 FPS; I perform an internet speed test to pick the optimal value within this range.
In the Video section, I adjust the base (canvas) resolution to 1920×1080 and the output (scaled) resolution to 1280×720 for a balance between quality and bandwidth. I also set the FPS (frames per second) to 30 or 60, depending on my computer’s performance.
Once my stream quality is configured, I return to scenes and sources. I organize layouts using sources like game capture, webcams, and overlays, ensuring the visuals look professional. Testing my stream lets me confirm setup stability before going live.
Streaming On YouTube With OBS Studio
Streaming on YouTube using OBS Studio requires proper setup and customization to create a smooth viewing experience. I’ll walk you through linking your YouTube account and adjusting your stream settings for optimal performance.
Linking Your YouTube Account
To begin streaming, connect your YouTube account to OBS Studio. Open OBS, navigate to “Settings” from the bottom-right corner, and click on the “Stream” tab. Select “YouTube – RTMPS” as your service. Log into your YouTube account by clicking “Connect Account,” then authenticate using your Google credentials.
If you prefer not to link directly, you can use a Stream Key. Retrieve the key by logging into YouTube Studio, navigating to “Create” > “Go Live,” and copying the Stream Key under the “Stream Settings” tab. Paste it into the “Stream Key” field in OBS.
Customizing YouTube Stream Settings
Adjust OBS settings to match YouTube’s recommended configurations for smooth streaming. Under “Settings,” go to “Video.” For 1080p streaming, use a Base Resolution of 1920×1080 and Output Resolution of 1280×720 or 1920×1080, depending on your internet speed. Set the frame rate to 30 or 60 FPS as your hardware allows.
In the “Output” tab, optimize the bitrate. YouTube suggests 4,500-9,000 Kbps for 1080p at 30 FPS or 6,000-13,000 Kbps for 1080p at 60 FPS. Choose the appropriate encoder (hardware or software) based on your system’s capabilities.
Add visuals and audio sources to enhance your stream. Use the “Sources” panel to include elements like game capture, webcam, and overlays. Ensure proper alignment using the preview window and create transitions for a polished stream.
Test your setup with a private live stream to confirm stability, ensuring your audience sees professional-quality content.
Tips For Successful Streaming
Creating a professional and engaging stream involves more than just basic setup. These tips can help improve your streaming experience and keep your audience coming back.
Troubleshooting Common Issues
Streaming hiccups happen, but quick solutions can save the day. Start by addressing lag or buffering by lowering your bitrate or adjusting your resolution in OBS settings. For audio issues, check your input and output device settings in both your system and OBS to ensure they’re correctly selected. If your stream suddenly drops, verify your internet connection and ensure your upload speed meets the platform’s requirements.
Frames dropping? Reduce the encoding workload by enabling hardware encoding or lowering FPS to 30. If OBS crashes, try updating to the latest version or disabling problematic plugins. Always keep an eye on the log files in OBS for detailed error information, which can help pinpoint the root cause.
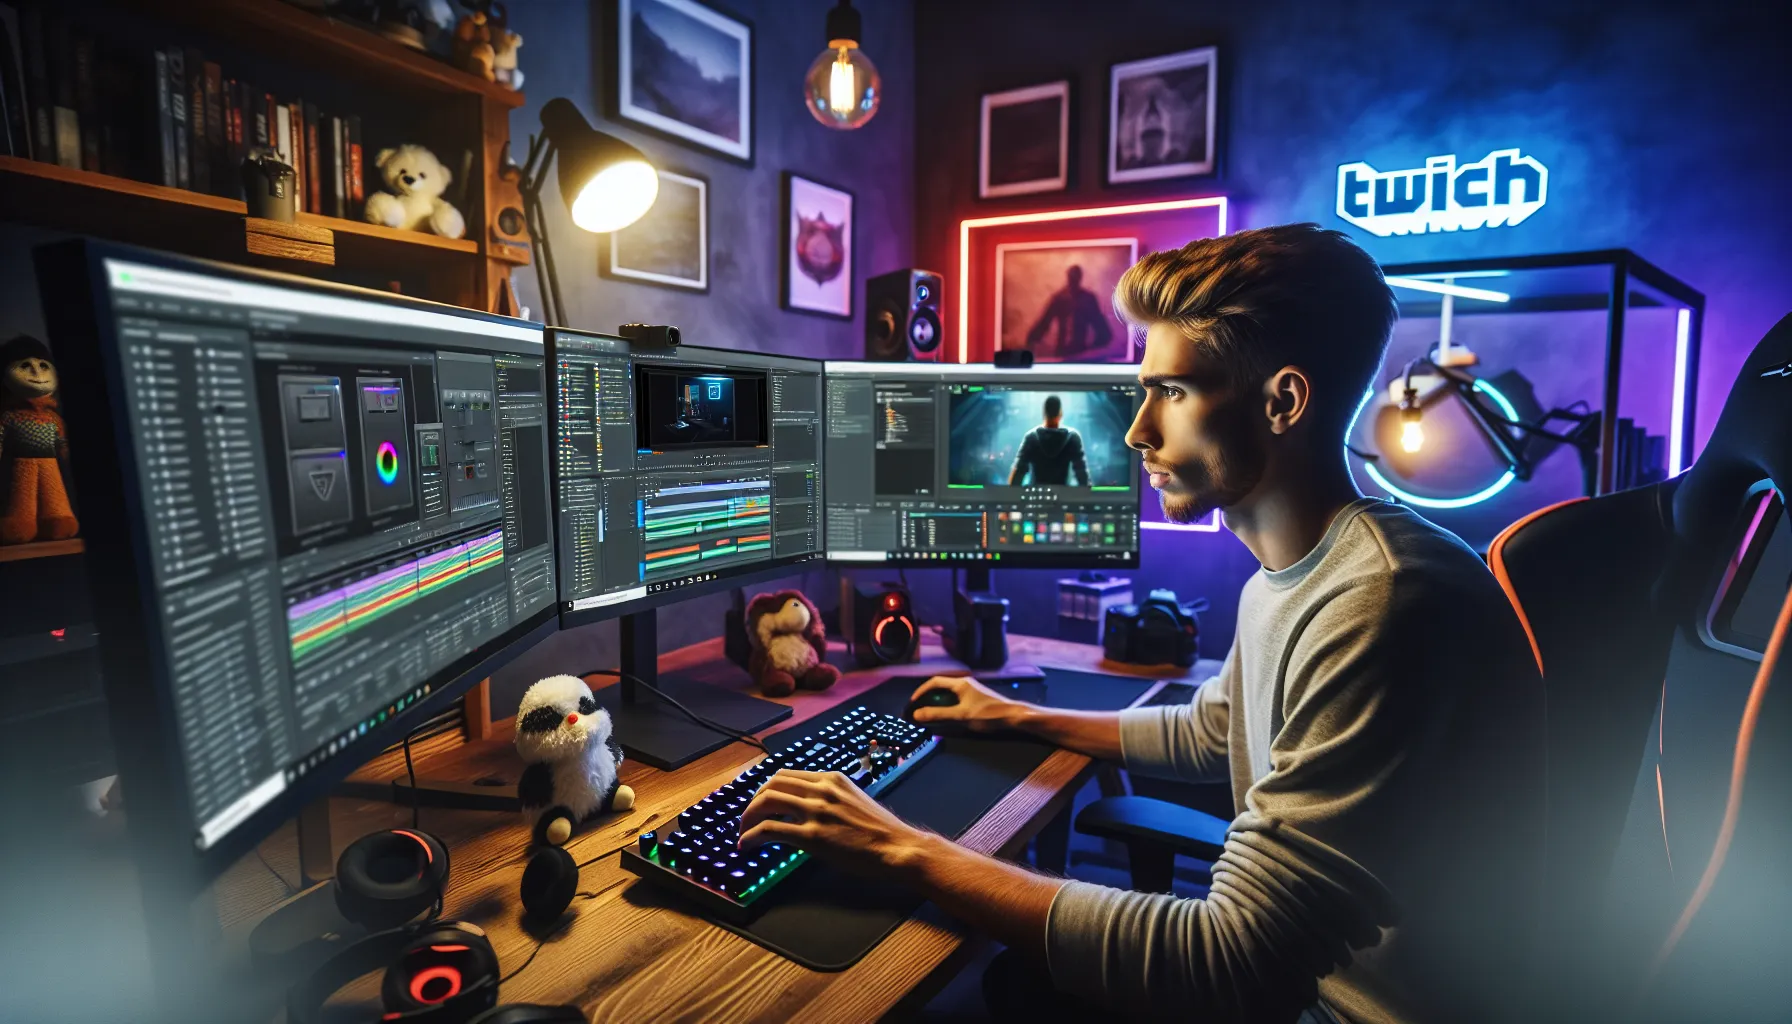
Enhancing Your Stream With Plugins
OBS Studio plugins can add new capabilities, enhancing both functionality and visual appeal. Install plugins like StreamFX to add dynamic effects like 3D transformations or chroma key improvements. Use NDI for seamless multi-PC streaming setups or move scenes between devices. Add the OBS WebSocket plugin for more advanced control and automation through external apps.
For audio, try the VST plugin support to apply professional-grade filters, such as equalizers or noise gates, refining sound quality. Always download plugins from reliable sources, and test them thoroughly to ensure your stream runs smoothly and looks polished to viewers.
Conclusion
Streaming with OBS Studio on Twitch or YouTube can feel intimidating at first, but with the right setup and a bit of practice, it quickly becomes second nature. The software’s flexibility and powerful features make it an incredible tool for creating high-quality, professional streams that truly engage your audience.
Whether you’re just starting or looking to elevate your streams, OBS Studio offers everything you need to succeed. Take the time to explore its features, customize your settings, and experiment with plugins to make your streams uniquely yours. Most importantly, have fun with it—your passion is what will keep viewers coming back for more!
Frequently Asked Questions
What is OBS Studio?
OBS Studio (Open Broadcaster Software) is free, open-source software designed for video recording and live streaming. It allows users to capture high-quality video and audio from multiple sources, offering customizable settings and support for plugins to enhance functionality. It’s compatible with Windows, macOS, and Linux systems.
Is OBS Studio free to use?
Yes, OBS Studio is completely free to use. It’s open-source software backed by a community of developers who continuously improve it through updates and bug fixes.
What platforms are compatible with OBS Studio?
OBS Studio is compatible with Windows, macOS, and Linux. It works seamlessly with popular streaming platforms like Twitch and YouTube.
How do I link OBS Studio to my streaming platform?
To link OBS Studio to Twitch or YouTube, go to the OBS settings, navigate to the “Stream” tab, and either log in directly to your platform or use the provided Stream Key from your account.
What are scenes and sources in OBS Studio?
Scenes are customizable layouts for your stream, while sources are the elements inside a scene, like video feeds, images, text, or audio. You can create multiple scenes to switch between layouts during your stream.
What video resolution is best for streaming on Twitch?
For smooth Twitch streaming, set your base resolution to 1920×1080 and output resolution to 1280×720 with a frame rate of 30 or 60 FPS, depending on your system’s capabilities.
How do I adjust bitrate in OBS Studio?
Go to OBS Studio settings and navigate to the “Output” tab. Adjust the video bitrate based on your internet speed: for 720p streaming, a bitrate between 2500-4000 kbps is recommended, while 1080p may require 4000-6000 kbps.
Can I test my stream setup before going live?
Yes, OBS Studio allows you to test your setup. You can start with a private stream or local recording to check video, audio, and performance quality.
How do I fix lag or buffering issues during streaming?
To fix lag or buffering, lower your bitrate, adjust the resolution, and ensure your internet speed is sufficient for the selected settings. Also, close unnecessary background apps to optimize performance.
Are plugins necessary for OBS Studio?
Plugins aren’t necessary but can enhance your stream with added features like dynamic effects, multi-PC setups, or improved audio quality. Always download plugins from trusted sources and test them in advance.
Can I use OBS Studio if I’m new to streaming?
Yes, OBS Studio is beginner-friendly with plenty of tutorials available. It offers basic features and advanced options, making it suitable for both new and experienced streamers.
How do I stream on YouTube using OBS Studio?
To stream on YouTube with OBS Studio, log in directly through OBS or use your Stream Key. Configure your video and audio settings to match YouTube’s recommendations, then test your setup with a private live stream.
Why is testing my setup important before streaming?
Testing ensures your stream runs smoothly without technical issues like audio sync delays or dropped frames. It allows you to optimize video quality and fix potential problems beforehand.
What internet speed do I need for smooth streaming?
A stable upload speed of at least 5 Mbps is recommended for 720p (60 FPS) streaming, while 8-10 Mbps is ideal for 1080p. Perform an internet speed test to confirm your connection supports your streaming settings.
Is OBS Studio safe to download?
Yes, OBS Studio is safe when downloaded from the official website. Avoid third-party sources to prevent downloading malicious software.
No responses yet